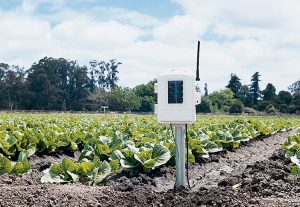
In Part 1 and Part 2 of this series, as well as the associated posts on the ezeio and sensor networks, I have focused primarily on IoT hardware: the part you can see and touch, and that touches your farm.
However, in many ways, software is much more important than the hardware. As I observed in Part 2, modern technology products are remarkably similar: a CPU, some memory, some storage, and some peripherals. If the peripheral is a relay, you have a device that can turn things on and off (like a remote-controlled power plug, or a WebRelay). If the peripheral is an “Analog to Digital Converter” (ADC) then the device can monitor sensors and report the values from those sensors. Some devices like the ezeio have both (and even more).
Of course, nothing happens on these devices without software. And software is involved in at least two important places: the software that is running on the devices themselves, sometimes referred to as “firmware,” and the software running on back-end computers (local or cloud servers, PCs, or even your phone or tablet) that is used to store and interpret the results from the devices.
These two pieces of software have to be able to “talk” with each other, and we’ll assume* they do so over your network, with the device connected to your AyrMesh network and the “back-end” software on some sort of cloud-based server on the Internet. Note that the “back-end” software COULD reside on a server on your property if you are using AyrMesh.
What the devices themselves do depends on both the hardware and the firmware on the device – in most cases, that firmware will collect readings from the sensors, upload that information to the back-end server, and, if appropriate, take commands from that server and take action, from turning on a light to starting a pump or a grain auger.
In most cases, that firmware is a closed system – there is no way for you to collect data off or communicate with the device directly, or to direct it to a location other than the vendor’s cloud server. It doesn’t have to be that way, but (1) it’s simpler, and (2) that gives the vendor much more control over the data.
The back-end server usually stores the data and presents it to you (either through a web page or a mobile app, or both). What data you see, how you see it, and what you can do with it depends on that back-end software. It may just present a time series of observations in the field as a graph, it may let you set up simple or complex rules (if the soil moisture is at this level or below, turn on the irrigation system), and it be able to present data in many useful ways (different graphs, superimposed on maps, etc.) and enable very complex control of your farm machinery.
The back-end server is usually a closed system, as well – most times it can only accept data from the vendor’s own devices. Sometimes it may have an “Application Program Interface” (API) that allows it to exchange data with other programs. It may also have the ability to upload data into it for tracking and presentation, or to download data from it for importation into another program. These APIs and import/export mechanisms may be very good, well-written, and well-documented, making them extremely useful. Or they may not. APIs are generally only useful for programmers – it takes code to make them work – but well-written and well-documented APIs can enable even relatively inexperienced programmers to create custom programs to do exactly what you want, and that can be extremely valuable.
On the other hand, back-end software without good APIs and/or import/export features is a “closed box” – what you get is just what you get, and there’s no way to get more or less. Understand, of course, that a closed system like this may do EXACTLY what you need, but, if your needs change, it may suddenly become useless.
Of course, there is also the issue of your data and what happens to it. The terms and conditions for the service may be very clear about what happens to your data, or they may be quite vague. Many of the data services will anonymize and sell the data that you store on their servers (the most unethical may not even anonymize it – beware!). This may concern you or not, depending on the nature of the data and how closely tied to your operation it is. For instance, it is generally valuable to share weather data – if your neighbors do so as well, you can gain a much better insight into the local weather patterns. On the other hand, you may not want to share geo-referenced harvest data – that tells too many people exactly what your land and your harvest is worth. “Fuzzing up” the geo-reference, however, might make it a lot more shareable.
When you are considering new devices to collect data and/or control machinery on the farm, these distinctions between “open” and “closed” systems, and the availability if good, usable APIs may seem abstract. Salespeople for “closed” systems will do their best to minimize the importance of these issues, but it’s absolutely critical. Openness in the device’s firmware means that the devices can be re-purposed to work with another system if you don’t like the vendor’s services, and openness in the back-end database means you can easily get your data and move it where it can be combined with other data and used (e.g. providing it to your agronomist for analysis, or storing it in a system where it can be combined with other data for decision-making).
Being smart about buying new technology for your farm can save you a lot of money in the long term, and a lot of frustration in the short term. We’ll keep an eye out for and report on interesting products that help you on the farm using open technologies.
*some devices connect directly to the network using WiFi or Ethernet, and some devices will have low-power networking (e.g. Zigbee or Google Threads) that use a “gateway” device to connect them to your network (or directly to a public network via cellular or satellite). There are even some that don’t talk to the network at all, using either Bluetooth or an embedded WiFi server to communicate directly with your phone, tablet, or laptop. And, of course, there are still devices that use some sort of flash memory and “sneakernet” (taking the flash memory off the device and walking it to a computer).
 First, if you’re growing a few acres of cut flowers, organic vegetables, or other high-value, high-intensity crops, the
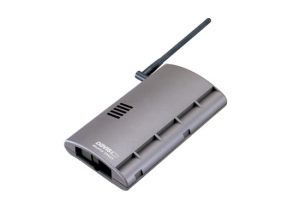
 We wanted to quickly share an article published recently that impressed us quite a bit.
 There are all kinds of new technologies and products available for farming – these new “AgTech” products hold real promise to change the practice and the economics of farming. But you have to evaluate them realistically to understand how they will help you improve your profit: increase revenue or save costs.
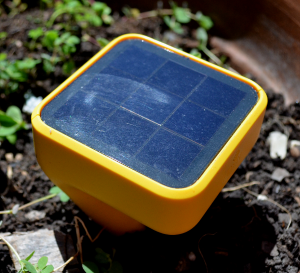
 We have been asked multiple times how to extend the AyrMesh network beyond the availability of plug-in power. The key, of course, is solar panels and/or wind turbines, along with batteries
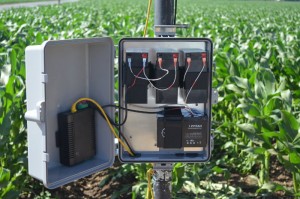
 to hold the power when the sun isn’t shining or the wind isn’t blowing.
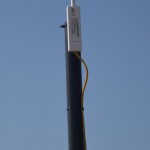
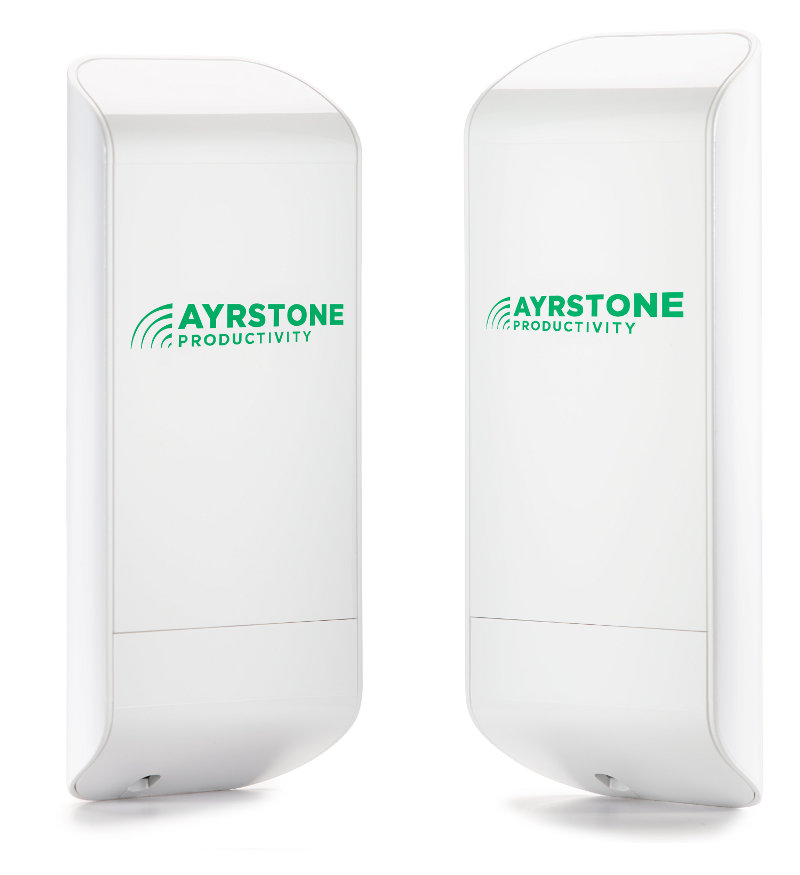
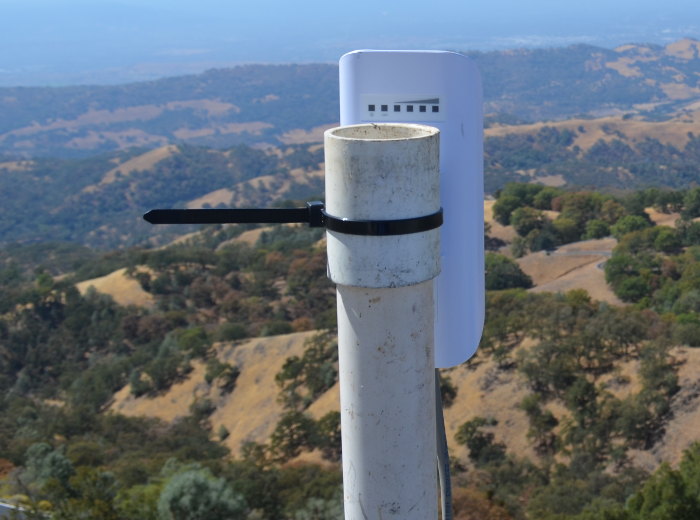
 The system provides Power over Ethernet (PoE) for the radios, just like the power supplies that come with the AyrMesh products. The mechanical considerations (attaching the solar panel and battery pack to the pole or tower) is extremely simple, using either U-bolts or hose clamps. Using this to extend your network out into your fields will enable you to use the AyrMesh Cab Hub to automatically move data off your in-cab computers and have WiFi coverage in your cab wherever you are on the farm.