
Courtesy of eze System
A few months ago, I was approached by the folks at eze System, who wanted to know if their ezeio product would work with AyrMesh to help farmers measure conditions on farms and control equipment.
 They were kind enough to send me one of the ezeio products so I could try it out. Insofar as it is a standard Ethernet (802.3) product, I had no doubt it would work perfectly with AyrMesh, and, of course, it did – I just connected it to an AyrMesh Receiver with an Ethernet cable and it appeared on my network.
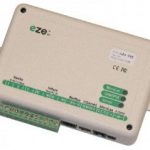
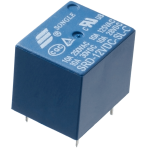
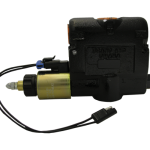
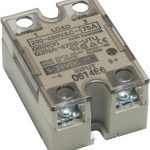
What is cool about the ezeio is that it is a complete package – hardware, firmware, and back-end software – completely integrated and ready to plug in and go. It includes connection points for up to 4 analog inputs (configurable for 0-10V, 4-20mA current loop, S0-pulse, or simple on/off), Modbus devices, Microlan (1-wire) devices, and up to two relay outputs (up to 2 amps). This makes it a very versatile unit for both detecting and controlling things on the farm.
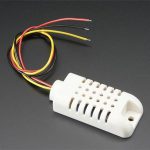
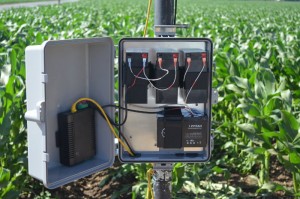
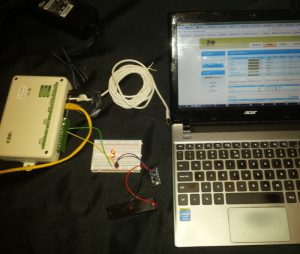 I set mine up on a table to see how it worked. The good folks at eze System included a Microlan temperature probe, so I set up my unit with that connected to the Microlan connector and a couple of LEDs (with a battery) connected to one of the relay outputs.
 I then went to their web-based dashboard and started setting things up. It’s pretty simple – you get a login on the dashboard, and you add your ezeio controller. You can then set up the inputs (in my case, the temperature probe) and outputs (the relay) and then set up rules to watch the inputs and take appropriate actions. If you want to see the details, I have put together a slide show for the curious so I don’t have to put it all here.
The bottom line is that I was able to quickly and easily set up a system that checked the temperature continuously and, when the temperature dropped below a certain level, lit up an LED. Big deal, I hear you say, BUT – it could easily have been starting a wind machine or an irrigation pump or some other machine, and it could have been triggered by a tank level switch or a soil moisture sensor or some other sensor or set of sensors. It also enables me to control those devices manually over the Internet, using a web browser, without having to “port forward” on my router.
The ezeio is a very powerful yet easy-to-use device which, in conjunction with the web service behind it, enables you to very easily set up monitoring and automation on your farm. For the do-it-yourselfer, it is a great way to get started on employing the Internet of Things (IoT) on your farm. Even if you’re not inclined to take this on yourself, any decent networking technician can easily set up your AyrMesh network and the ezeio to help around the farm.

 First, if you’re growing a few acres of cut flowers, organic vegetables, or other high-value, high-intensity crops, the
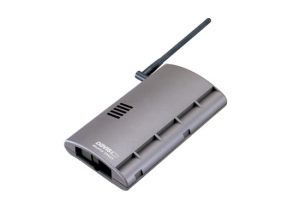
 We wanted to quickly share an article published recently that impressed us quite a bit.
 I read a LOT about the “Internet of Things” (abbreviated IoT) is in the news lately; you probably have see it too, and there is a lot of excitement around it. And I would argue there’s good reason for that – it is going to change everything, perhaps more fundamentally than cellphones and, later, smartphones. But it is important to understand what the IoT is, what it is not, and how it will affect life on the farm.
 motion, and lots of other things) and robust built-in data communications infrastructure (WiFi)? What could you monitor? What could you control remotely (or even automatically), especially using the data you are getting from monitoring?
 There are all kinds of new technologies and products available for farming – these new “AgTech” products hold real promise to change the practice and the economics of farming. But you have to evaluate them realistically to understand how they will help you improve your profit: increase revenue or save costs.
 We have been asked multiple times how to extend the AyrMesh network beyond the availability of plug-in power. The key, of course, is solar panels and/or wind turbines, along with batteries
 to hold the power when the sun isn’t shining or the wind isn’t blowing.
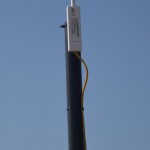
 The system provides Power over Ethernet (PoE) for the radios, just like the power supplies that come with the AyrMesh products. The mechanical considerations (attaching the solar panel and battery pack to the pole or tower) is extremely simple, using either U-bolts or hose clamps. Using this to extend your network out into your fields will enable you to use the AyrMesh Cab Hub to automatically move data off your in-cab computers and have WiFi coverage in your cab wherever you are on the farm.
 I should point out, of course, that none of these things deterred me in any way: I’m the crash test dummy for new devices like this, so I expect it to be rough when I first see it. My goal is to experience these rough spots so you don’t have to!
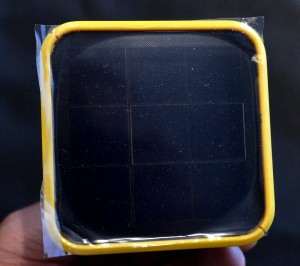
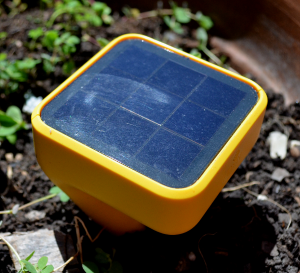
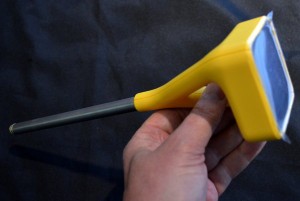
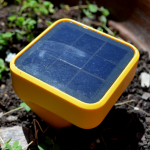
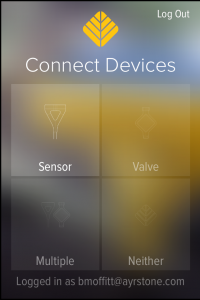
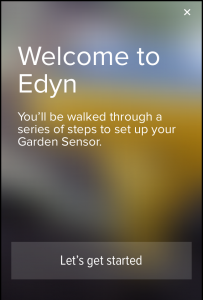
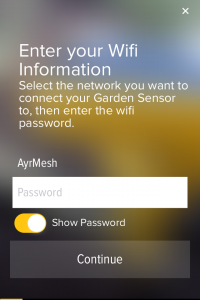
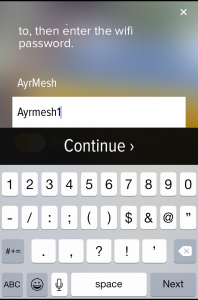
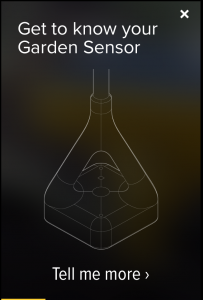
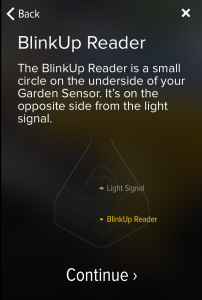
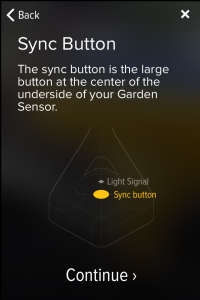
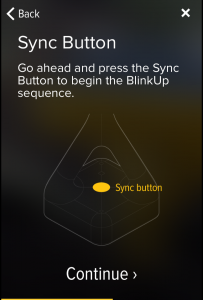
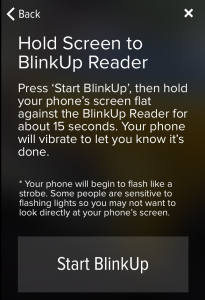
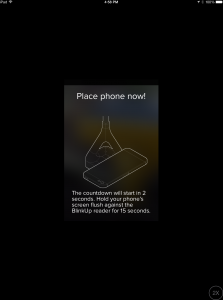
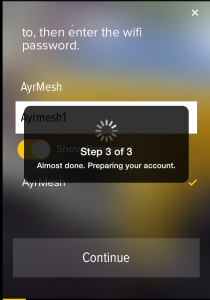
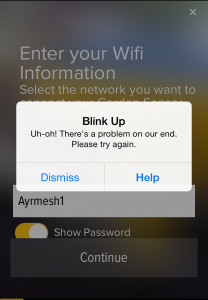
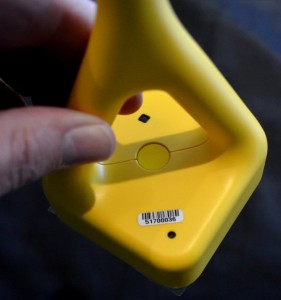 When I finally got the app installed on the iPad and got it started, I was taken through the process of creating an account and configuring the Edyn Garden Sensor. The Edyn is built with a VERY clever WiFi device called an “Electric Imp.” There is, obviously, no keyboard on the Sensor, so you have to get the WiFi configuration onto it somehow, and the Electric Imp uses a process called “Blinkup.” On the botton of the Sensor is a button and a small light sensor; you join the WiFi network (your AyrMesh WiFi network) on your phone or tablet, then type in the encryption passkey (from AyrMesh.com) in the Edyn app. You then hold the screen of the phone or tablet close to the bottom of the Sensor, and the screen blinks to send the WiFi credentials to the Sensor. The Sensor then joins the network, checks into Edyn’s servers (much like the AyrMesh devices do) and then appears in the Edyn app.
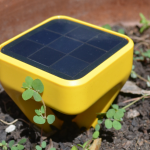
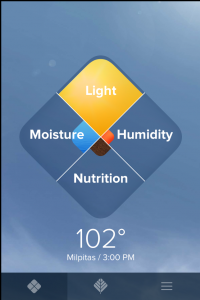

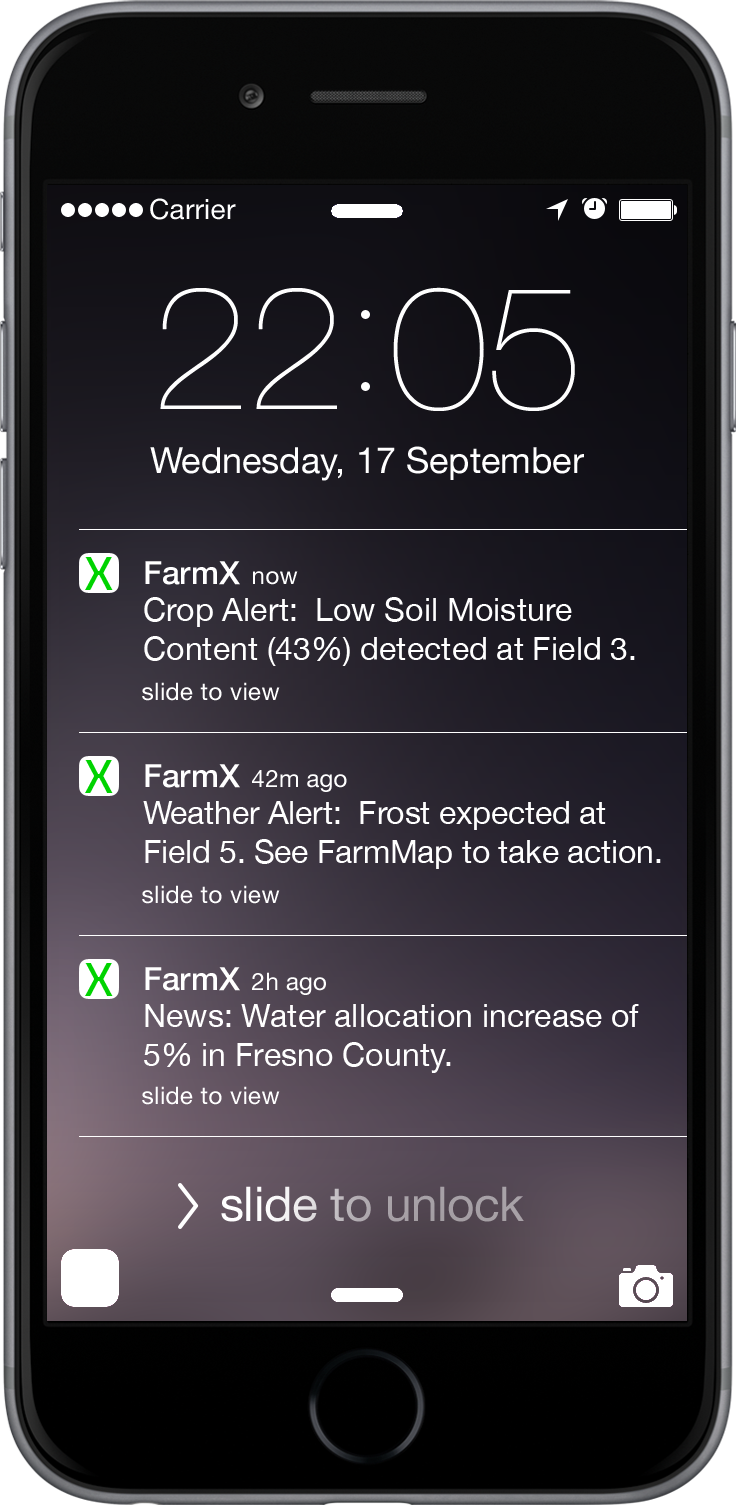
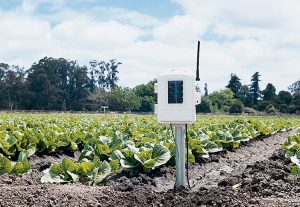
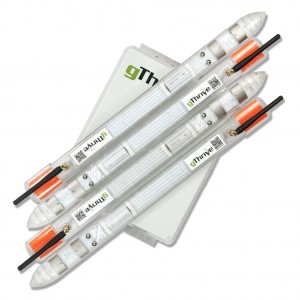
 This is another example of the kind of technology that is available at very low cost when you outfit your farm with an AyrMesh network – each field can be outfitted with a FarmMap gateway device to communicate with their soil sensors, and you can connect the gateways to AyrMesh components (Hubs, Receivers, or Bridge radios, depending on your network) to connect them to your network.