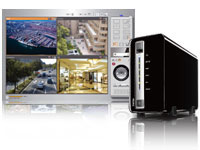
QNAP NVR, courtesy of QNAP
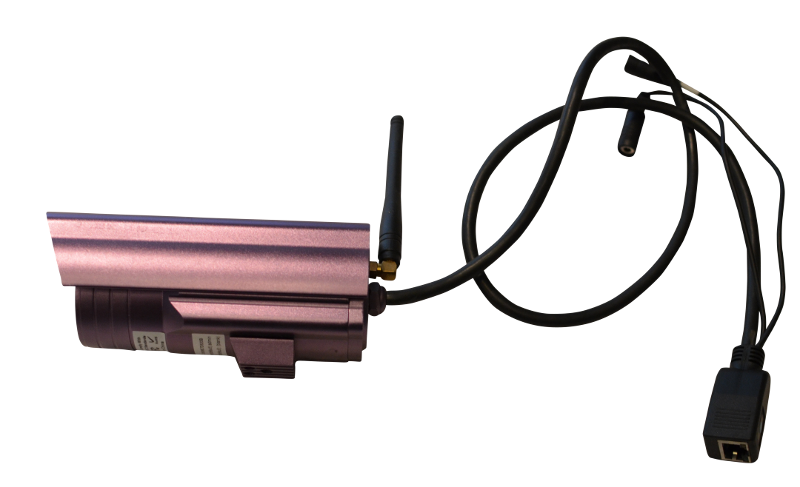
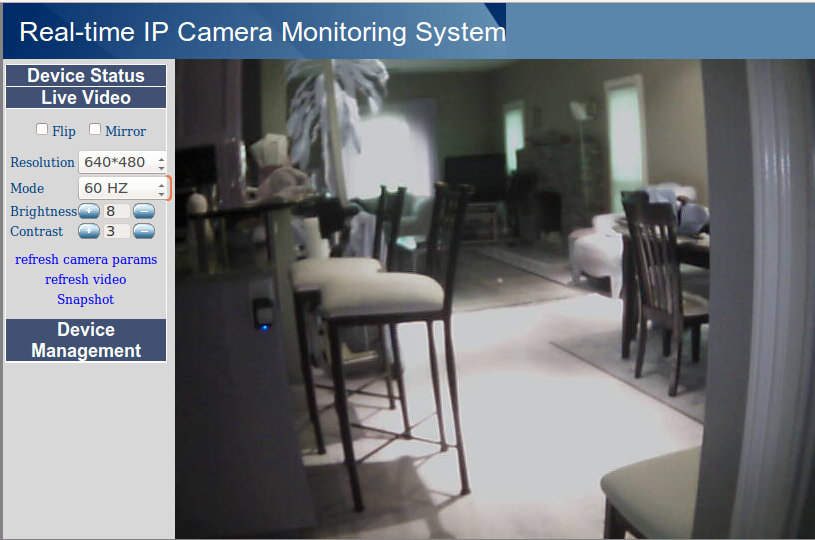
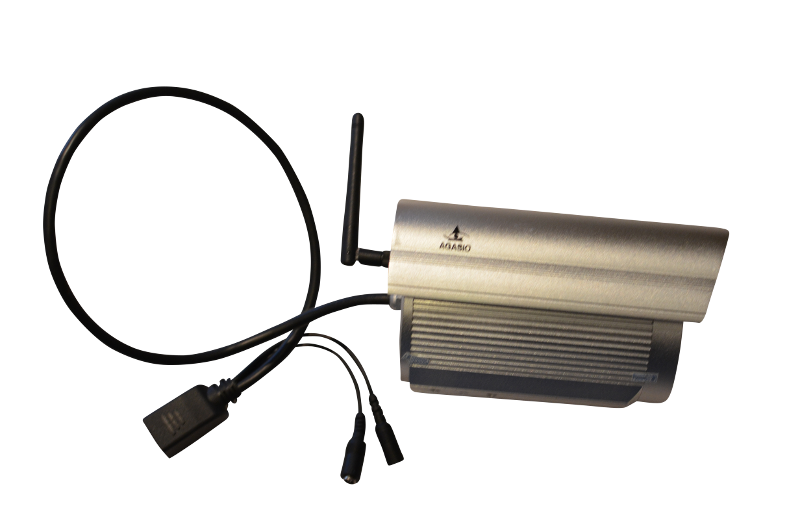
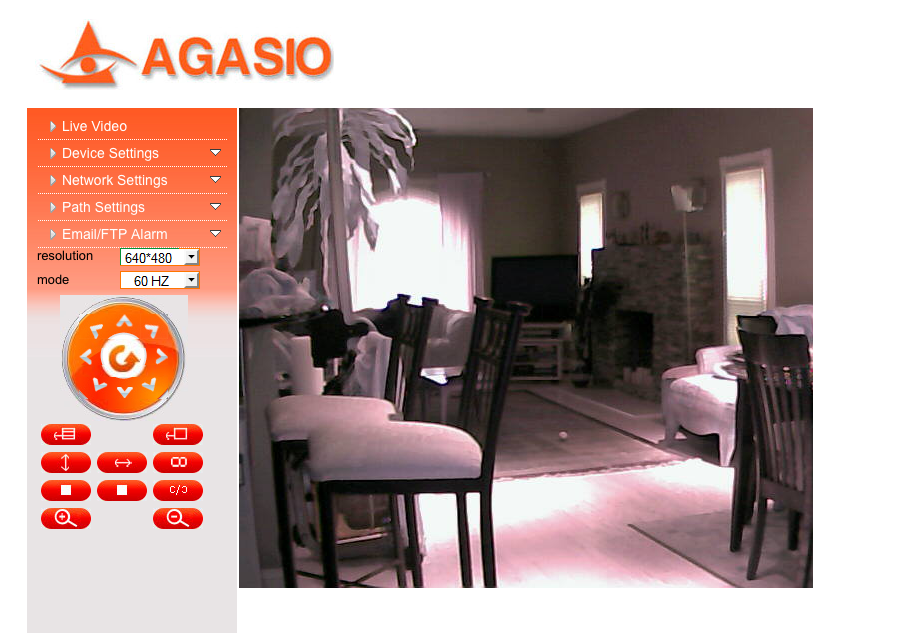
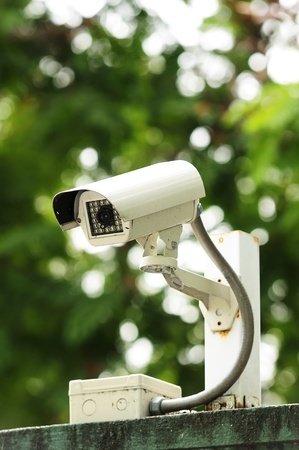
Now you know how to select an IP Camera, set it up on your farm, and view it from wherever you are, on or off the farm, which may give you a greater sense of security by itself.
However, you can’t watch what’s going on 24×7, and, with most cameras, you can’t go back and see what happened a couple of minutes ago (or last week). If you want to incorporate cameras as part of a security system (which may also include things like driveway sensors, indoor motion sensors, window/door open sensors, and other devices), then you should, at a minimum have some sort of recording, and probably some sort of motion detection on the cameras. What I have found to be best is some sort of system that is continuously monitoring the cameras, and, when motion is detected, it records the previous several seconds of video and keeps recording until after the motion stops. That way, I find, I get a nice, clear video of the mailman coming up to the box every single day (and, if I choose, a text and/or email with a picture of the mailman within a few seconds of his arrival).
But, seriously, if you are having trouble with intruders (people breaking into your storage sheds or stealing Anhydrous), getting notification and pictures of them is a good idea. For that, you need a Network Video Recorder (NVR). An NVR is a device that plugs into your network and monitors your IP cameras, allowing you to view several cameras at once and go back to see what happened at a particular time. Most modern NVR systems also have motion detection and multiple alarm functions (including email and tripping a relay to set off an alarm).
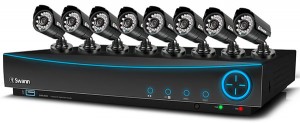
Swann DVR with cameras, courtesy of Swann
An NVR is different from a Digital Video Recorder (DVR), although both can be useful tools for farm security. A DVR typically has a number of coaxial inputs for cameras, so you can attach 4, 8, or 16 cameras to the unit using coaxial cable and it will continuously record the video from those cameras. Most modern DVRs also have an Ethernet port so you can connect them to your network and monitor the cameras from wherever you are. A DVR can be very useful anywhere you want several cameras in a single physical location, like your home, workshop, or storage shed, where you don’t mind stringing wires. Most newer DVRs can also detect motion send you an email or other form of alarm when they do.
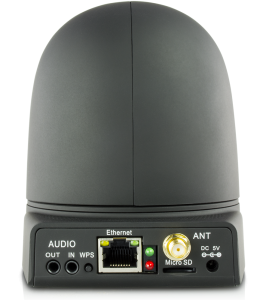
Foscam indoor camera with storage – the little microSD slot under the antenna – courtesy of Foscam
Some newer IP cameras even have the NVR capability built-in, usually via an SD card slot. They store either still images or video to the SD card continuously so you can just “back up” while you’re viewing the cameras.
Almost all IP cameras have some form of motion detection, but many of them are effectively useless. There are three types of motion detection:
- Overall picture motion detection – this just looks for the number of pixels changing in the frame and alerts if that number rises above a certain level. Unfortunately, this is almost entirely useless, because, if the sensitivity is high, it will “alarm” every time the lighting changes slightly, and if the sensitivity is set too low, it won’t alarm at all.
-
Setting a “zone” so the camera will alarm when the door is opened – courtesy of networkwebcams.com
“Zoning” motion detection – this allows you to put rectangles into the camera’s frame and only alarm if there are changes inside those rectangles. This works better, but you still get a lot of “false alarms.”
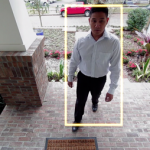
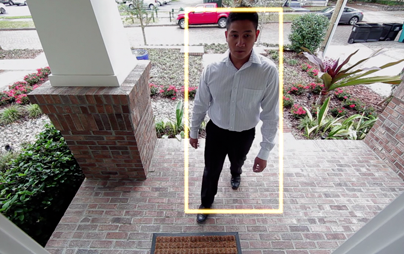
Object detection, courtesy of Sitehound
- Object detection – this is an algorithm that can pick out moving objects in the video stream and distinguish them from changes in the background. This means that you only get an alarm when something moves, and you can set the size of the object that will set an alarm so you don’t get called every time a gnat flies by.
Most inexpensive cameras use the first type of motion detection, which means the on-camera detection is worthless. Almost all other cameras use the second type of detection, which is not useless but still not great. Some high-end cameras can do object detection, but they’re pretty expensive.
The better idea is to have your NVR software do the detection and alarming, rather than the camera. There are two ways to do this: using a dedicated NVR (a small computer running embedded NVR software) or running an NVR program on a desktop computer that’s on 24×7. There are advantages to either approach.
Using a dedicated NVR is simple: you set it up, add the cameras to it through the onboard user interface, and forward a port to it on your router so you can access it while you’re away. QNAP is a vendor that makes a large range of standalone NVRs that are compatible with a wide variety of cameras. In all honesty, I have never been able to evaluate one, but customers have reported good results with them. Synology has developed a pretty good reputations, also – both brands are generally available on Amazon.
The downside to the dedicated NVR is that only some cameras are supported (although the brands mentioned above support a huge number of brands) and that it is difficult to evaluate the software to tell how well it will work for you. The vendors don’t really provide much detail about how they detect motion, what options are available, and what the units can do.
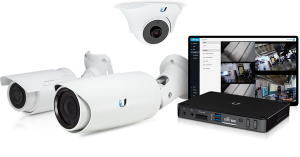
Ubiquiti Cameras and NVR, courtesy of Ubiquiti Networks
Some camera vendors like Vivotek, GeoVision, and Ubiquiti sell both cameras and NVRs to work with their cameras in an integrated package. Going that way makes it easier to know your cameras will work the the NVR, but more difficult to evaluate whether you have the right cameras and NVR for your operation.
The other option for an NVR is to use an NVR program on a computer that’s running all the time. There are several of these programs, but the two most popular are BlueIris and SightHound. BlueIris is less expensive and runs on any Windows PC; SightHound is more expensive, but has a number of important advantages:
- It runs on either Windows or Mac computers;
- it is very easy to install, configure, and use; and
- it features an advanced object-detection motion detection.
I’m an unabashed fan of SightHound – I have written about it before on this blog – although I have used BlueIris and it is also very good. I also like the Ubiquiti system (Note: Ubiquiti builds the hardware for the AyrMesh system), although I find their software to be a bit too complex for most users. It also integrates with their mFi sensors and switches for security and automation.
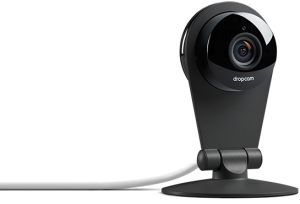
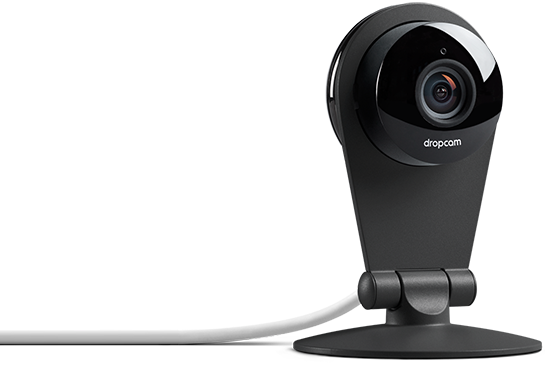
Dropcam – courtesy of Dropcam
There is actually a third option – a camera that automatically loads its video to a “cloud-based” NVR. Dropcam is a system that uses nice, small, relatively inexpensive indoor cameras, which automatically send their video stream to their cloud servers, without the need for port-forwarding. I have also written about Dropcam before on this blog. The big advantages with Dropcam is that they are VERY easy to set up and use, and the company is now part of Nest (maker of the Nest thermostat), which is part of Google – they have the resources to keep this going and expand those products to do a lot more in the future. The disadvantages are:
- They currently only make indoor cameras; there is no outdoor option, and the cameras are not designed for outdoor temperatures.
- They charge on a per-camera basis for the recording function. They charge $10 per month/ $99 per year for the first camera and $5 per month/ $50 per year for each additional camera (that’s for 7 days of recording; they charges for 30 days of recording are 3x higher)
- There is no way to directly view the camera – the only way to view it is through the Dropcam website. This is not a big problem practically, but it does bug me a little. Even without a subscription, you can view the camera through their website and get notices when motion is detected, which is nice.
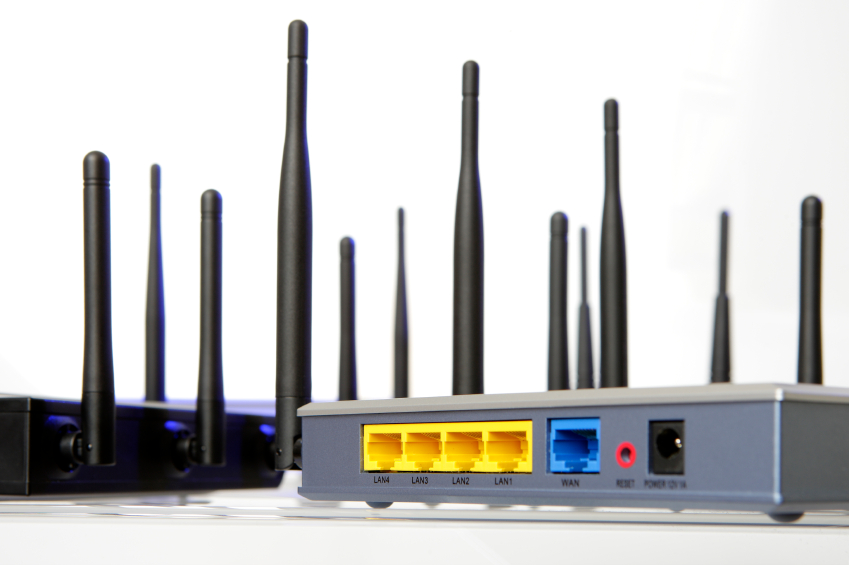
Whatever cameras and NVRs you choose, you’ll need to connect the cameras to the network, connect the NVR to the network, and make sure the NVR is “talking” to the cameras. You can then port-forward to the NVR (remember about this from the router series?) in order to access it from the Internet; that way you don’t have to port-forward to each of the individual cameras. You’ll need to fine-tune the sensitivity of each camera in order to get appropriate “alarms” for movement. You’ll also need to set the alarms up so they contact you appropriately. Setting up an email alarm is relatively easy, and all the cellular phone providers give you an email address that goes through as an SMS text message – for instance, on Verizon, if the phone number is 555-123-4567, you can email “[email protected].” That way you can get a text message on your phone whenever motion is detected.
So, now you have cameras set up in the critical parts of your farm, which you can view through your NVR, and you are set up to get alerts any time something moves in the field of view of those cameras. All of this, of course, is made possible because of your AyrMesh Network, covering your farm with powerful IP connectivity.
And there’s still a lot more you can do with the network… stay tuned!
 For the last few months, we have been fortunate enough to be part of the RoyseLaw AgTech Incubator. Our involvement in the incubator many benefits, including access to top people in California business and agriculture as well as the Silicon Valley venture capital community. We expect our involvement to result in many benefits to us as we move forward.
 The most important reason we wanted to be part of the incubator, however, was to associate ourselves with some of the most interesting up-and-coming companies in agricultural technology. I would encourage you to check them out to see where “Ag-Tech” is going today.